


Generating Cycle Count Tickets by Item Tags
It is strongly recommended that you process all pending price change tickets, invoices and shift reports before generating a cycle count ticket.
To generate a cycle count ticket by item tags:
- In CStoreOffice®, go to Inventory > Counts.
- In the left menu, select Itemized Inventory.
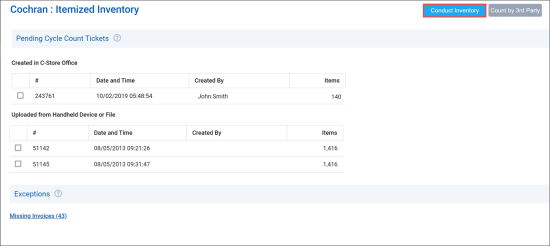
- At the top right of the Itemized Inventory form, click Conduct Inventory.
- From the Choose ticket type list, select By Item Tags.
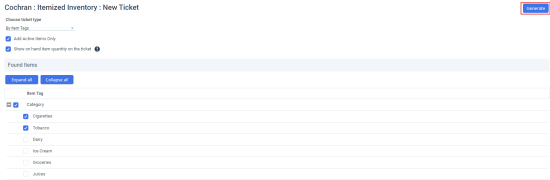
- In the Found Items list, select check boxes next to the necessary item tags and, optionally, sub item tags.


- At the top right of the form, click Generate.

Result: The inventory ticket generates.
- Print the ticket.
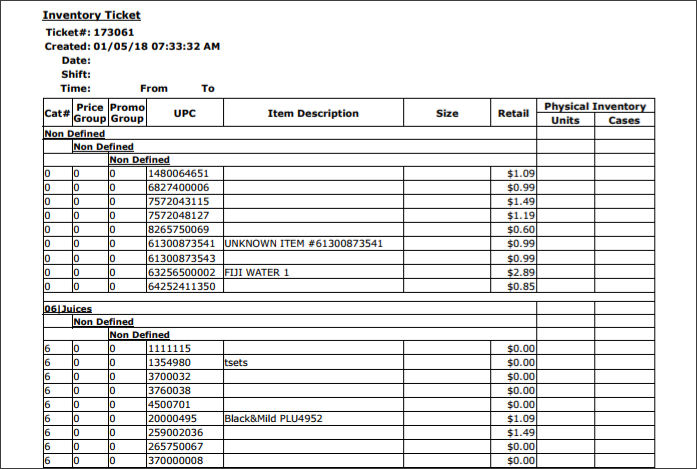
- Do the count and write down the item quantity on the paper ticket. The shift must be changed before the count is started and right after the count is finished.
- Enter counts into the system:
- Go to Inventory > Counts.
- In the left menu, select Itemized Inventory.
- Select the date and time period for the cycle count.
- In Physical Inventory column, enter the counts.
- (Optional) If required, select the Full Inventory check box.

- Click Process.
Make sure all pending invoices have been accepted before the cycle count ticket is processed.
To see inventory results and manage the processed tickets, see Managing Processed Cycle Count Tickets.
Checking On Hand Quantities
After the inventory is complete, you may check on hand quantities.
To check your on hand quantities:
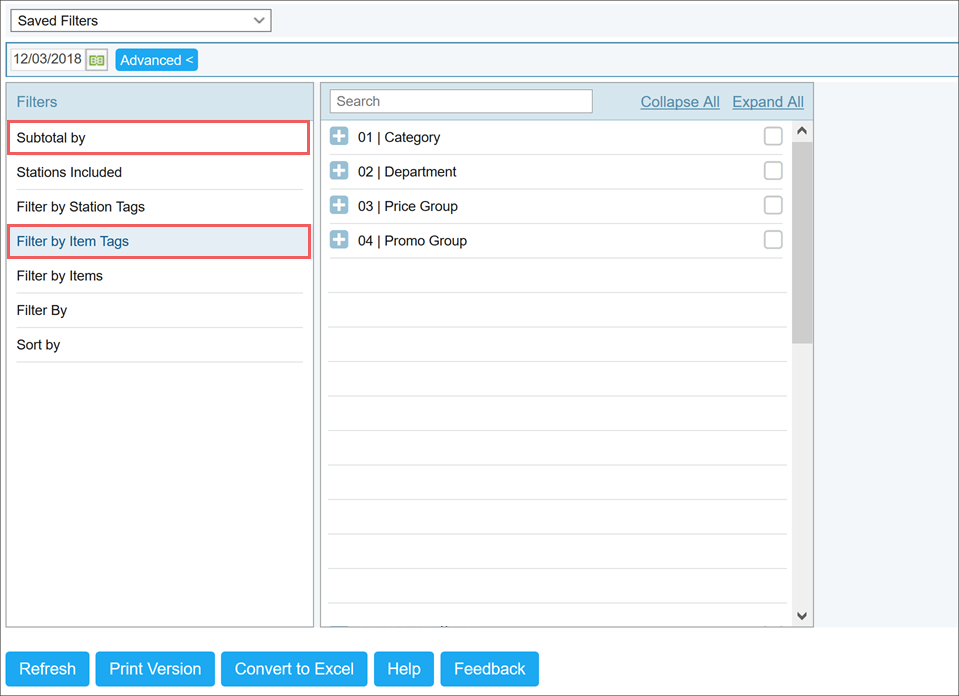
- In CStoreOffice®, go to Reports > Store.
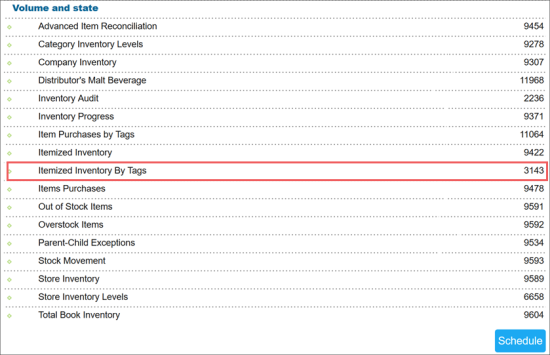
- Under Inventory, in the Volume and State section, click Itemized Inventory by Tags.
- Filter the report data using one of the following options: Filter by Item Tags or Subtotal By.

- Click Refresh.

Result: In the open window the updated on hand quantities will be shown.
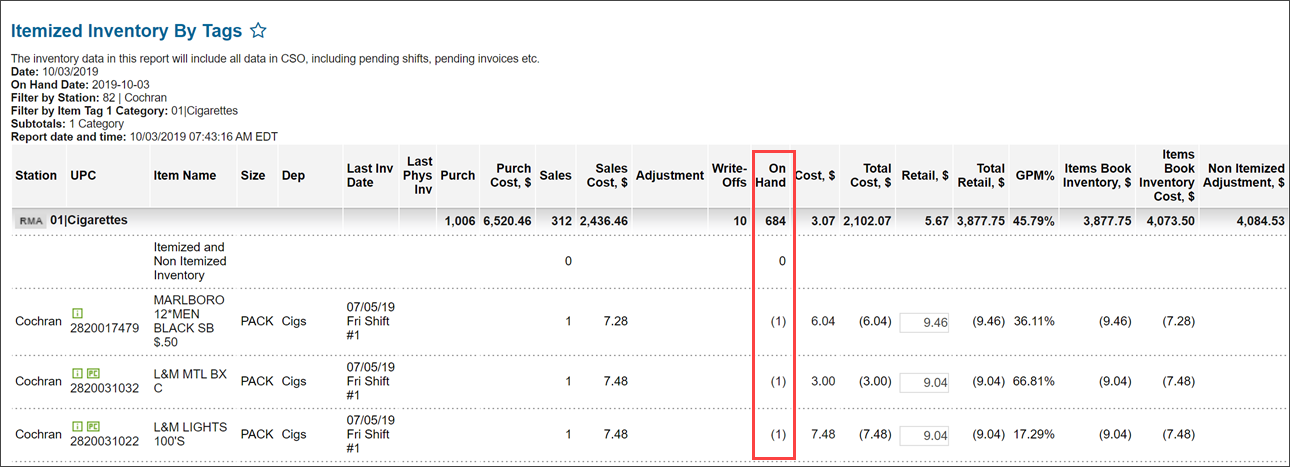
For details on Itemized Inventory by Tags Report, see Itemized Inventory by Tags Report.


